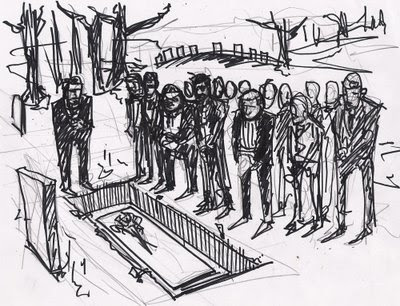
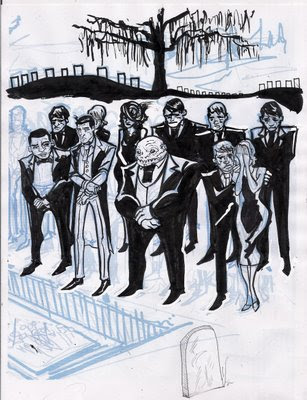
Step 1: I start off with doing a really roughed out thumbnailed version of what I think I want the shot to end up looking like. I sometimes tighten this up with a sharpy just to figure out the rough black placement. This is meant to be really rough. Just to nail the composition. We can worry about the details later on.
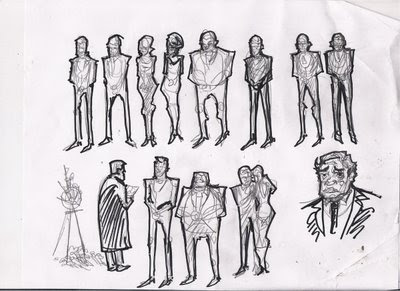
Step 2: For this particular panel once I know how it's going to look, Rather than figure out how they will look overlapping each other, I draw them out a bit tighter individually. This gets rid of all the guessing and allows me more freedom when laying them together and still allows me to keep the figures drawn in full. After this I piece them together in Photoshop to resemble the first step. Doing this allows me to balance the composition.
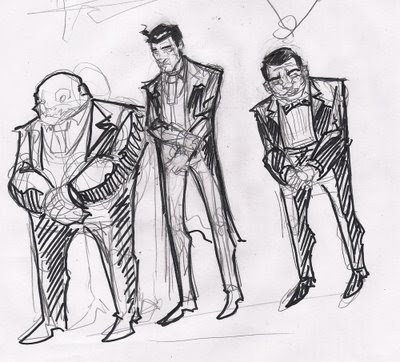
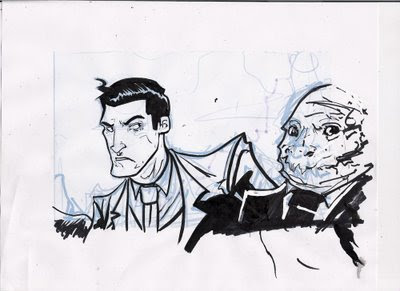
Again, an even tighter version of the main three characters we are focusing on. From these I will turn them into Blue line art, print them out and ink them.
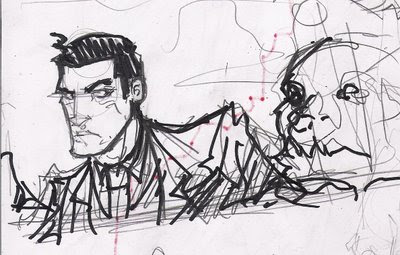
Step4: a clean enough verion roughed out. I will transfer this into blue line and ink. Requires less detail, and since i spent so much time on panel 1, I can pick and choose, using the background from the first.
Step 5: the inked version. This one was broken into halves. I am currently forced to work on 8.5 x 11" paper. So this is easier. I piece the two halves together.
Same thing here, panel is inked. Behind it you can see the blue line work.
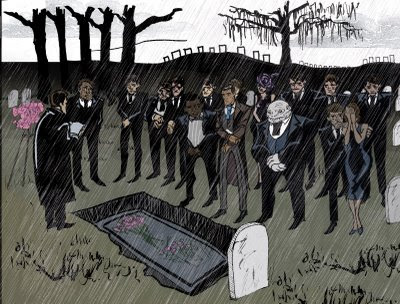
TADA! panel 1 is finished after a few hours of coloring...

And panel 2.
 Panel 1 inks and Panel 2


 Here you can see the different phases I go through to finally get the finished piece.


 A new monster head I just cast into rubber. Seen here is the original WED clay sculpture. Jordu said he was "spooky" I took that as a good thing.. I'll post the rubber latex version soon. I plan on painting all these as soon as I get the chance.


 This is the in progress shot of the new monster I'm sculpting. I'm still tweaking the pose a bit. It's a mixture of a few different animals. There is sooooo much hair left to be sculpted.. wish me luck.


 This is a killer croc mask I sculpted recently. As you can see in the first photos it started out as a clay piece and then was molded and injected with foam, to make a prosthetic mask which can be worn. This is one of the test masks that I ended up testing to see what the painting phase may look like.


 Here's a quick storyboard test i did. You know, your typical killer mermaid on seashore..


 Dead beat, can ya dig??
 Step 1: I start off with doing a really roughed out thumbnailed version of what I think I want the shot to end up looking like. I sometimes tighten this up with a sharpy just to figure out the rough black placement. This is meant to be really rough. Just to nail the composition. We can worry about the details later on.
 Step 2: For this particular panel once I know how it's going to look, Rather than figure out how they will look overlapping each other, I draw them out a bit tighter individually. This gets rid of all the guessing and allows me more freedom when laying them together and still allows me to keep the figures drawn in full. After this I piece them together in Photoshop to resemble the first step. Doing this allows me to balance the composition.
 Again, an even tighter version of the main three characters we are focusing on. From these I will turn them into Blue line art, print them out and ink them.
 Step4: a clean enough verion roughed out. I will transfer this into blue line and ink. Requires less detail, and since i spent so much time on panel 1, I can pick and choose, using the background from the first.
 Step 5: the inked version. This one was broken into halves. I am currently forced to work on 8.5 x 11" paper. So this is easier. I piece the two halves together.
 Same thing here, panel is inked. Behind it you can see the blue line work.
 TADA! panel 1 is finished after a few hours of coloring...
 And panel 2.


